Step-by-Step Paint Correction Before Applying Ceramic Coating in Brandon, FL
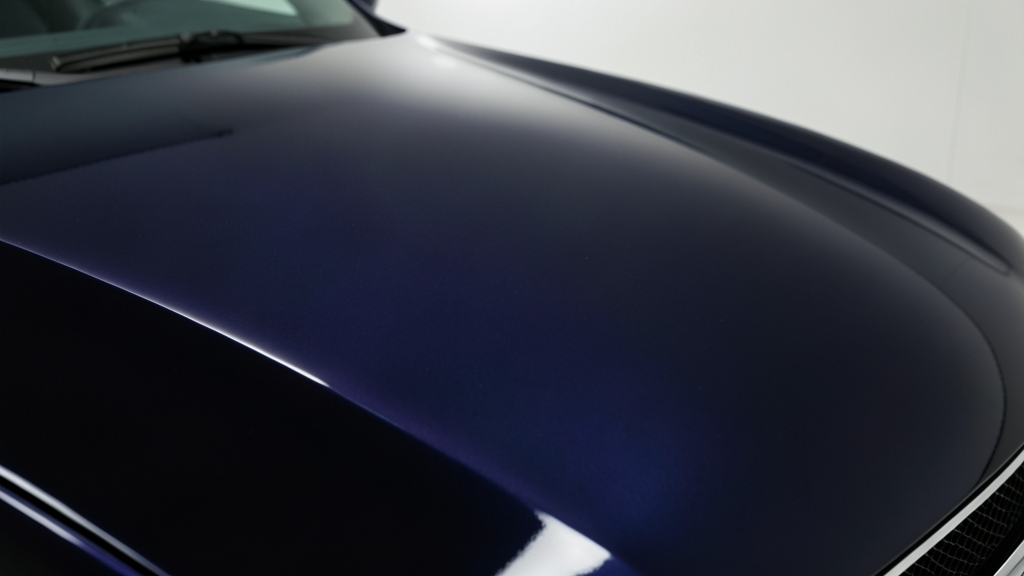
A pristine ceramic coating starts with perfect paint. In Brandon’s intense sun and humidity, even minor imperfections become glaring under a high-gloss finish. Proper paint correction removes swirls, oxidation, and defects so your ceramic coating bonds flawlessly and lasts longer.
Why Paint Correction Is Non-Negotiable Before Ceramic Coating
Ceramic coatings lock in the current state of your paint. If swirls, scratches, or oxidation exist, they’ll be permanently sealed under the coating, ruining the finish.
Brandon’s UV exposure accelerates paint fading and water spots. Correction restores clarity and depth, ensuring the coating adheres to a smooth, contaminant-free surface.
Skipping this step voids many coating warranties. Manufacturers require a corrected, decontaminated surface for optimal durability and performance.
Applying ceramic coating over uncorrected paint traps defects forever. Correction is the only way to achieve a mirror-like, long-lasting finish.
Tools and Products You’ll Need for Professional-Grade Correction
A dual-action polisher is essential for safe, effective correction. Avoid rotary buffers unless you’re highly experienced—they generate heat and can burn paint.
Use a high-quality compound for heavy defects (1200-3000 grit equivalent) and a finer polish (4000+ grit) for refining. Microfiber pads prevent marring.
A clay bar or synthetic clay towel removes embedded contaminants. A paint depth gauge ensures you don’t over-polish thin clear coats, common on older vehicles in Florida.
Step 1: Deep Cleaning and Decontamination
Start with a thorough foam wash using a pH-neutral car shampoo. Brandon’s pollen and road grime demand extra attention to avoid re-contaminating the surface.
Use an iron remover spray to dissolve brake dust and rail dust particles. These are invisible but rough to the touch and will interfere with polishing.
Finish with a clay bar lubricated by detailer spray. Work in small sections, flipping the clay frequently to avoid re-depositing contaminants.
Step 2: Paint Inspection and Defect Identification
Inspect the paint under direct sunlight or a high-intensity LED light. Swirl marks, holograms, and deep scratches are easier to spot at oblique angles.
Use your fingernail to test scratches. If it catches, it’s likely a deep scratch requiring compound. If not, it may be a surface mar polishable in one pass.
Check for oxidation, common on older vehicles exposed to Florida’s sun. Heavy oxidation may require multiple compounding stages.
| Defect Type | Severity | Recommended Correction |
|---|---|---|
| Swirl Marks | Light to Moderate | Fine polish with foam or microfiber pad |
| Deep Scratches | Heavy | Compound followed by polish |
| Oxidation | Moderate to Heavy | Heavy-cut compound, multiple passes |
| Water Spots | Light to Moderate | Clay bar + light polish |
| Holograms | Light | Finishing polish with soft pad |
Step 3: Compounding for Heavy Defects
Apply a small amount of compound to a microfiber cutting pad. Work in 2x2 foot sections, using moderate pressure and overlapping passes.
Keep the polisher moving to avoid heat buildup. Brandon’s humidity can make compounds dry faster, so work quickly and mist the surface with water if needed.
Wipe away residue with a clean microfiber towel and inspect. Repeat if defects remain, but switch to a finer pad or compound if the paint starts hazing.
Over-compounding thins the clear coat, reducing protection. Always use the least aggressive method to remove the defect.
Step 4: Polishing for a Mirror Finish
Switch to a finer polish and a softer pad (e.g., polishing or finishing pad). This step removes micro-scratches left by compounding and restores gloss.
Work in smaller sections than compounding, using lighter pressure. The goal is refinement, not defect removal.
For dark-colored vehicles common in Brandon, a second polishing pass with a jewel-like finishing polish ensures maximum clarity and depth.
How Paint Correction Differs for Brandon’s Climate
Florida’s UV rays and high humidity accelerate paint degradation. Vehicles here often require more aggressive correction to remove deep oxidation and water spots.
Pollen and tree sap are constant battles. A thorough decontamination step is critical before polishing to avoid embedding these contaminants.
Clear coats on Florida vehicles can be thinner due to years of sun exposure. Always measure paint thickness before and during correction to avoid burning through.
When to Call a Professional for Paint Correction in Brandon
If your vehicle has deep scratches, severe oxidation, or previous poor paintwork, professional correction is safer. We use paint depth gauges and precision tools to avoid damage.
For luxury or classic cars, DIY risks are higher. Professionals in Brandon, Valrico, or Riverview have the experience to handle delicate paints and complex curves.
If you’re applying a high-end ceramic coating or paint protection film (PPF), professional prep ensures the best bond and longevity. Many local shops offer bundled services.
Signs You Need a Pro
- Visible clear coat failure or peeling
- Deep scratches that catch your fingernail
- Heavy water spotting or etching
- Previous botched paint jobs or repaints
- Uncertainty about paint thickness or condition
How to Verify Your Paint Is Ready for Ceramic Coating
Follow these steps to ensure your paint is perfectly prepped for coating application.
- 1Final Wash
Perform a final wash with a pH-neutral shampoo to remove any remaining polishing oils or residues. Dry with a clean microfiber towel.
- 2Surface Inspection
Inspect the paint under bright light. Run your hand over the surface—it should feel glass-smooth with no rough spots or defects.
- 3Panel Wipe
Use a dedicated pre-coating prep spray or isopropyl alcohol (70% or higher) to remove any remaining oils or contaminants. Wipe with a lint-free towel.
- 4Paint Thickness Check
Use a paint depth gauge to confirm the clear coat is within safe limits (typically 4-6 mils). Document readings for warranty purposes.
- 5Test Spot
Apply a small amount of ceramic coating to an inconspicuous area. If it beads evenly and adheres well, the paint is ready for full application.
Frequently Asked Questions
How long does paint correction take before ceramic coating in Brandon?
For most vehicles, paint correction takes 4-8 hours, depending on the condition. Severe oxidation or deep scratches can extend this to a full day. We recommend scheduling correction and coating on separate days for the best results.
Can I skip paint correction if my car looks shiny?
No. Even if your paint looks glossy, microscopic defects and contaminants can prevent the ceramic coating from bonding properly. Correction ensures a flawless, durable finish.
Will paint correction remove all scratches?
It depends on the depth. Light to moderate scratches can often be fully removed. Deep scratches that penetrate the clear coat may require touch-up paint or wet-sanding before correction.
How often should I re-correct my paint before reapplying ceramic coating?
Ceramic coatings last 2-5 years, but paint correction is typically a one-time prep step. If you’re reapplying coating, a light polish may suffice unless new defects have appeared.
Do you offer paint correction and ceramic coating in Valrico or Riverview?
Yes, we serve Brandon, Valrico, Riverview, Seffner, Bloomingdale, and Tampa. Our mobile team can handle paint correction and coating at your location, or you can visit our shop for full-service prep and application.
What’s the difference between paint correction and paint protection film (PPF)?
Paint correction restores the paint’s surface by removing defects, while PPF is a physical layer that protects against scratches, chips, and UV damage. Many clients in Brandon combine both: correction for perfection, PPF for defense, and ceramic coating for gloss and ease of maintenance.